Akustikpaneele montieren: Bist du bereit für dein erstes Projekt?
Folge dieser Schritt-für-Schritt-Anleitung und montiere deine AKUROCK Natural Stone-Akustikpaneele im Handumdrehen – ganz ohne Fachkenntnisse.
Werkzeuge
Step 1: Werkzeuge und Materialien für die Paneel-Montage bereitlegen
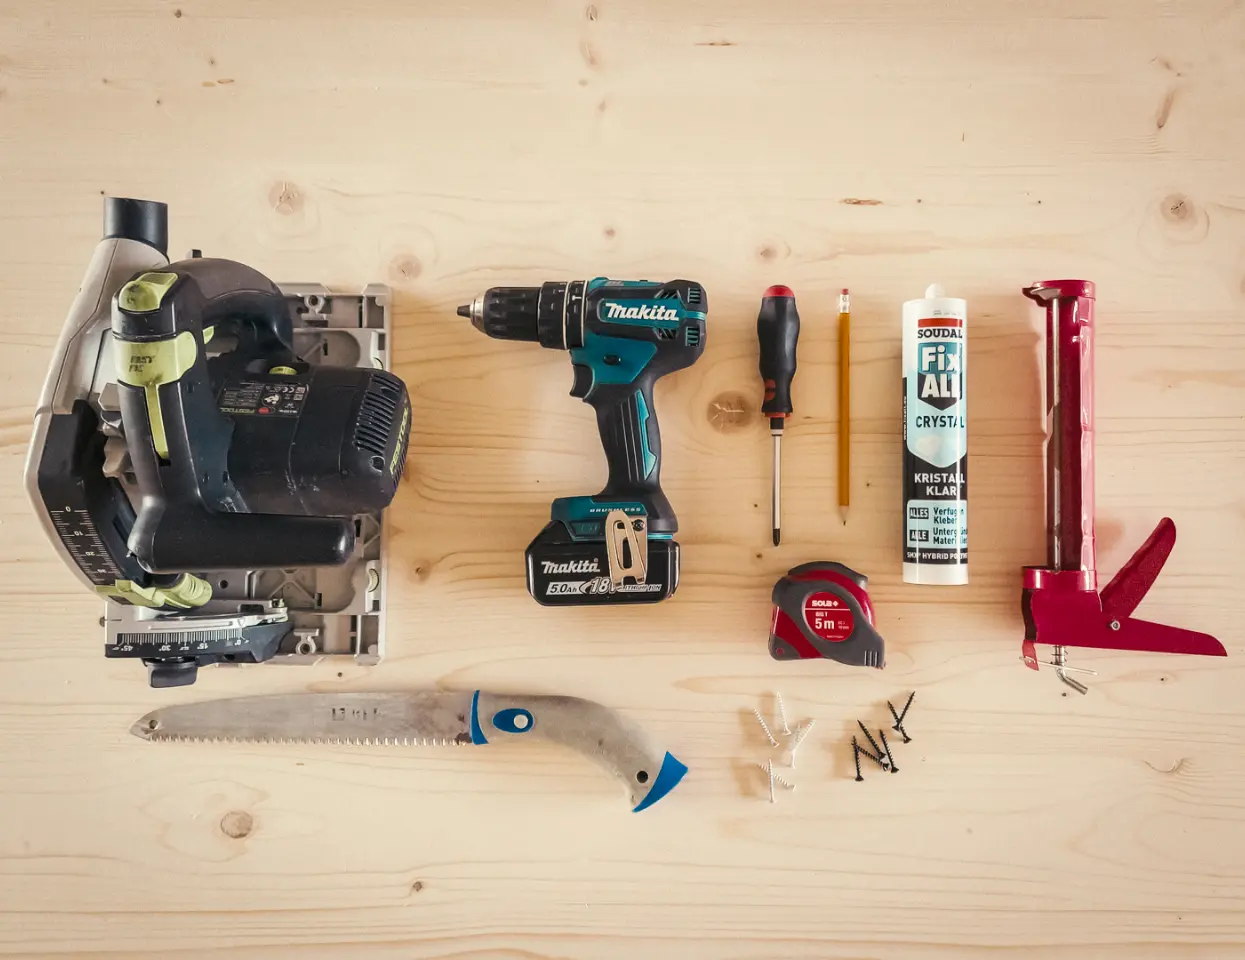
Bevor du mit der Montage deiner AKUROCK Akustikpaneele beginnst, stelle sicher, dass du die folgenden Werkzeuge und Materialien zur Hand hast:
- Ein Maßband
- Einen Stift zum Markieren
- Passende Schrauben oder Kleber zur Befestigung an der Wand.
- Einen Akkuschrauber oder Schraubendreher.
- Eventuell eine Säge falls gekürzt werden muss.
Sollte dir etwas fehlen, findest du das passende Accessories in unserem Shop.
Preparation
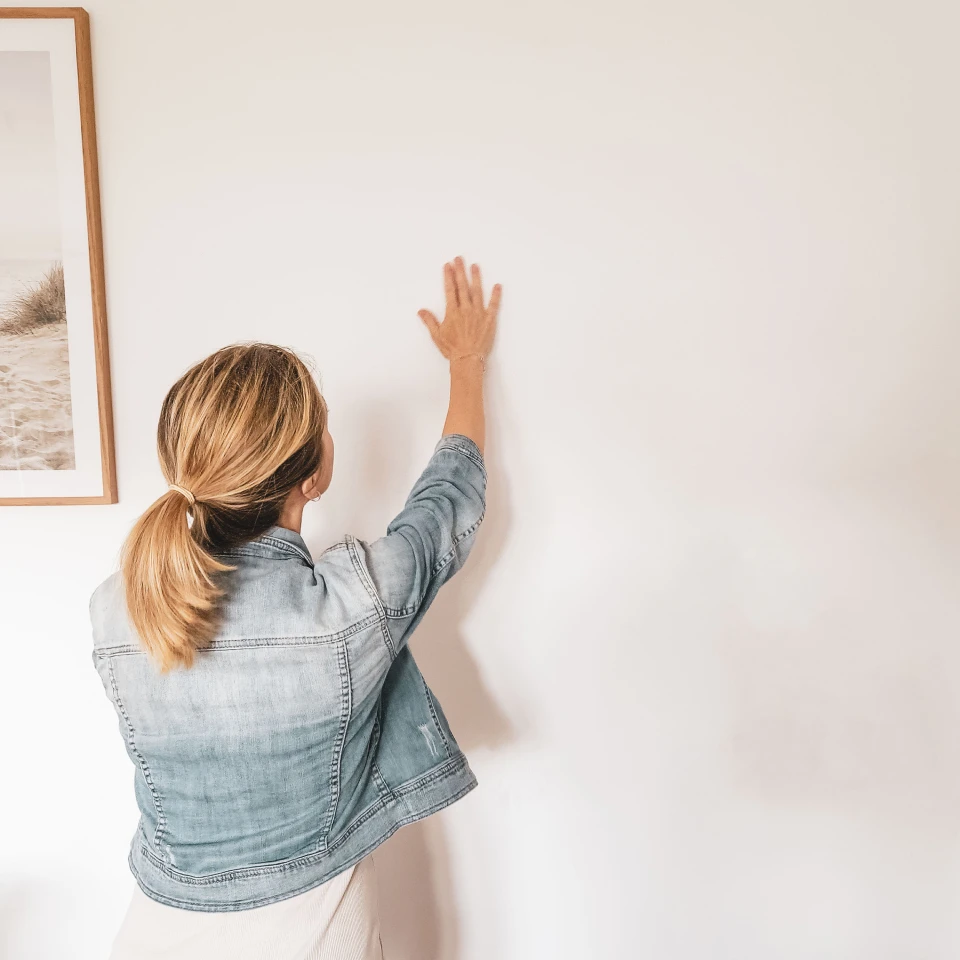
Step 2: Wand für die Wandverkleidung vorbereiten
Reinige die Wand gründlich und entferne alle Hindernisse wie Schrauben oder Nägel. Stelle sicher, dass die Oberfläche glatt und eben ist – so hält deine Natural Stone-Wandverkleidung optimal.
Messen
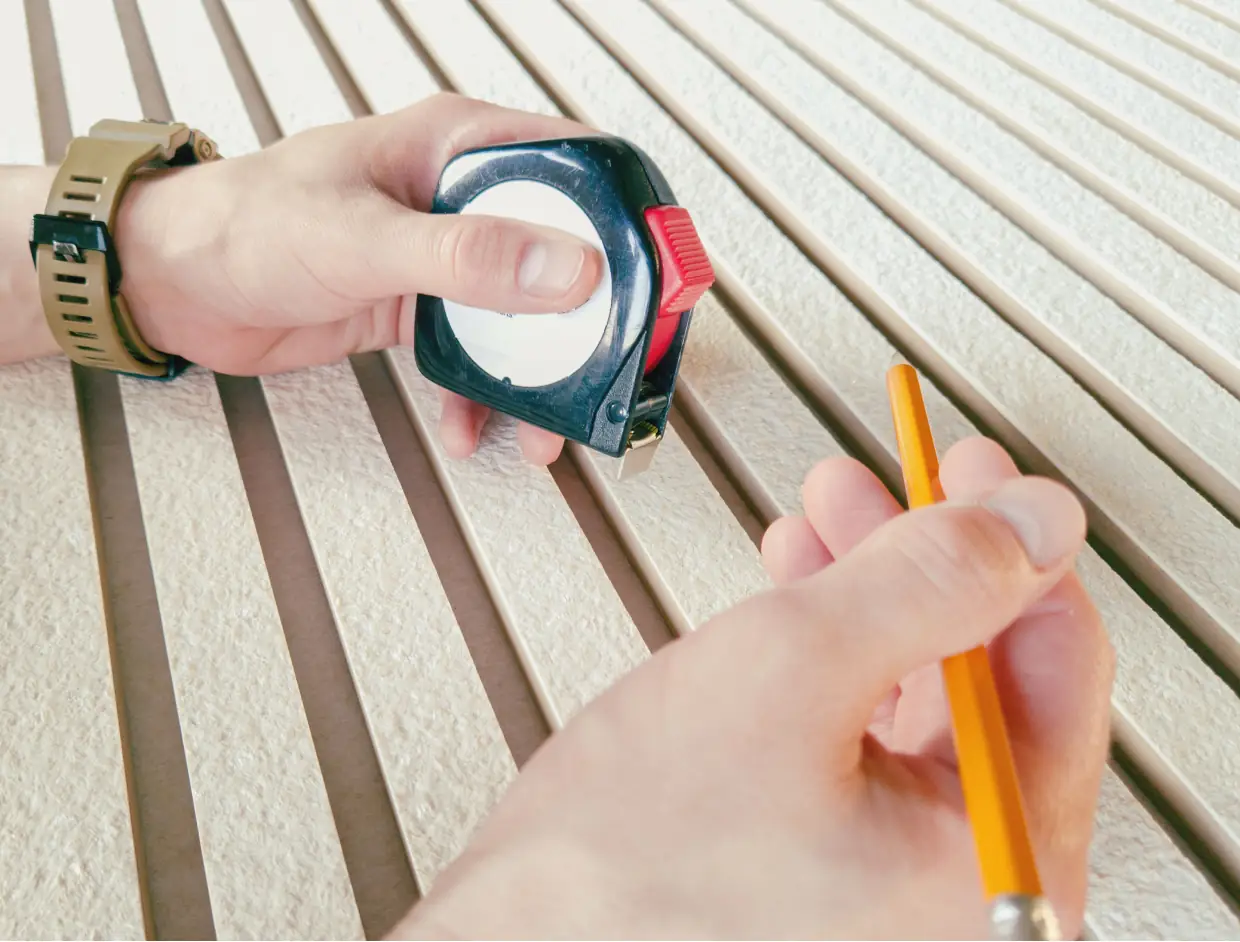
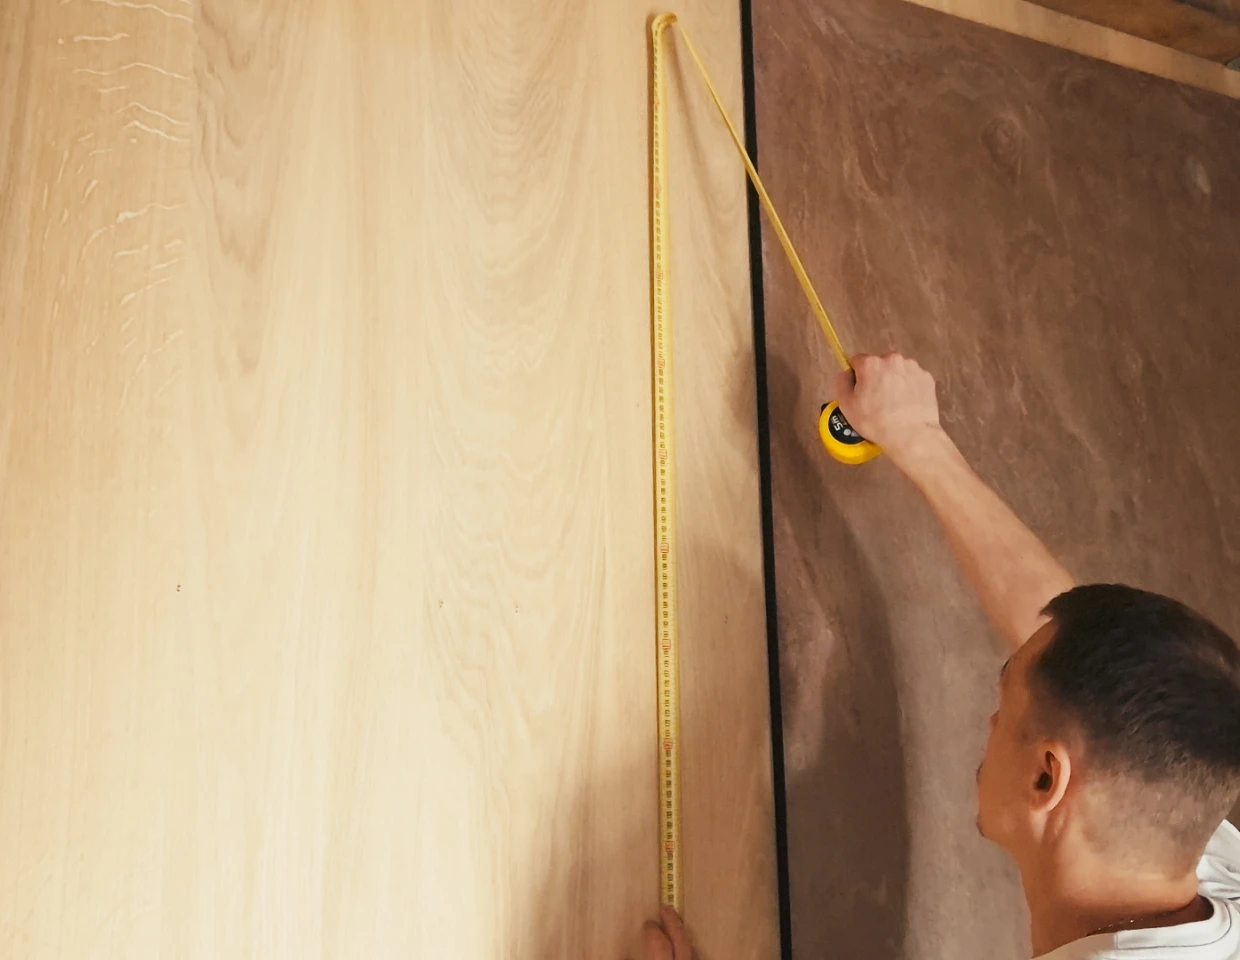
Step 3: Wandmaße nehmen und Akustikpaneele planen
Miss deine Wand sorgfältig aus, damit die Lamellenwand-Paneele perfekt passen. Schneide sie bei Bedarf auf die richtige Größe zu.
Befestigung
Step 4: Akurock Acoustic Panels an der Wand befestigen
Befestige deine AKUROCK Akustikpaneele entweder mit Schrauben oder Kleber an der Wand – beide Methoden sorgen für sicheren Halt.
Mit Schrauben:
Verwende die 40mm langen Schrauben und befestige die Paneele durch das Akustikfilz an der Wand. Bei massiven Wänden empfehlen wir die Verwendung von handelsüblichen Dübeln. Verwende ca. 15 Schrauben pro Paneel für eine sichere Befestigung.
Mit Kleber:
Trage den Montagekleber in wellenförmigen Linien auf die Rückseite der Paneele auf und drücke sie fest an die Wand.
Anpassung
Step 5: Breite der Akurock Lamellenwand-Paneele anpassen
Um die Akurock Acoustic Panels in der Breite zu kürzen, brauchst du nichts weiter als ein Cutter-Messer – einfach und präzise.
Zuschneiden
Step 6: Akurock Acoustic Panels in der Länge kürzen
(wenn notwendig)
Schneide die Akustikpaneele nach Bedarf auf die gewünschte Länge zu.
Stelle sicher, dass die Enden der Leisten sicher mit 15mm langen Schrauben befestigt werden, um Stabilität zu gewährleisten.
Ausschnitte
Step 7: Aussparungen für Steckdosen in den Akustikpaneelen
Falls Steckdosen vorhanden sind, schneide die Paneele entsprechend aus, um Platz dafür zu schaffen. Am einfachsten gelingt das mit einer Stichsäge.
Abschluss
Fertig: Zurücklehnen und bessere Raumakustik genießen
Nach der erfolgreichen Montage deiner AKUROCK Akustikpaneele ist es Zeit, dein neues Raumgefühl zu genießen. Lehn dich zurück und entspanne dich in der stilvollen und ruhigen Atmosphäre, die durch die Kombination von Natural Stone-Wandverkleidung und effektiver Schallabsorption entsteht.
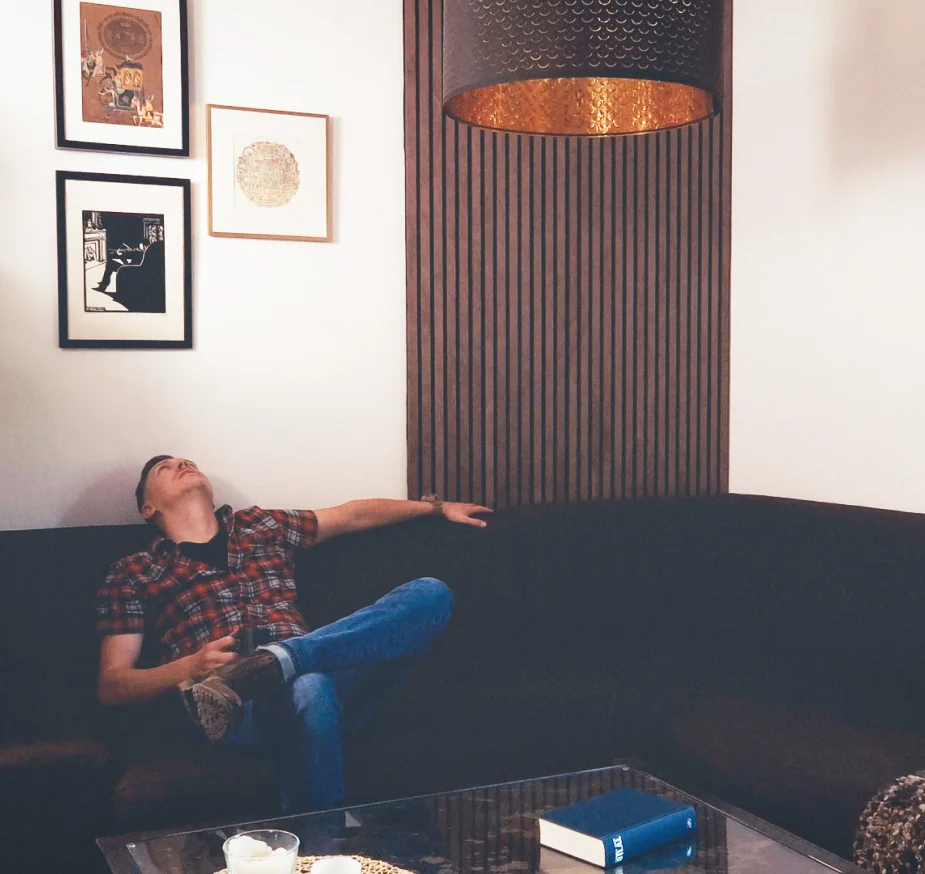
Voilá, du hast dein erstes DIY Projekt erfolgreich umgesetzt.